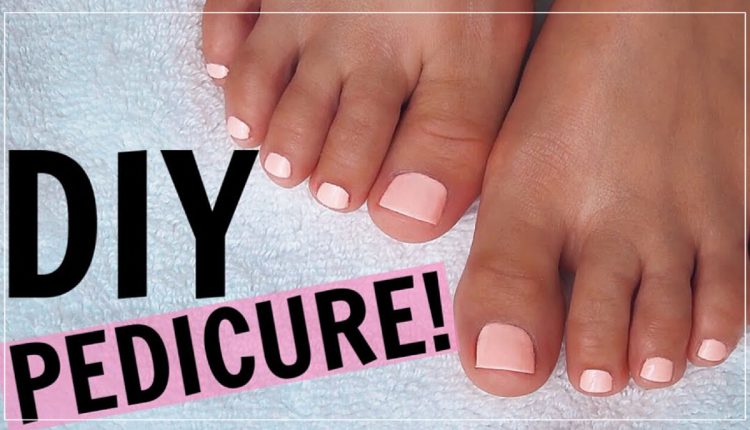
Take Care of Your Feet with DIY Winter Pedicure
If we ponder, isn’t it our feet that receive most of the dirt all day, in comparison to the whole of our body? We wash our face daily at least three times, we brush our teeth at least twice daily; we wash our hands before every meal and after using the toilet but what about feet?
Consequently, they grab more dirt in them and therefore need extra attention. With winter knocking on the door, dry skin adds to the accumulating dirt making the feet look quite horrible
But don’t worry, because here is a fully guided step-by-step solution to prevent the dirt from accumulating in the feet with this do-it-yourself (DIY) pedicure. No extra expenditure, no need of expensive creams. Just grab these available at home items and go ahead to receive a free spa at home!
Things you must have are:
- A bucket
- Epsom salt
- Rose petals/Rose water
- A nail file
- A buffing block
- Moisturizer
- Pumice
STEP ONE
Feet nails have dirt present till deep under the nail bed. So, the first step is to remove any prior applications of nail polish and then dip the feet in lukewarm water for ten minutes.
- Fill a bucket with water, then add rose petals to it and leave it for a while.
- This step is just to ensure the water smells nice as feet, which are normally under socks, are generally foul-smelling.
- You can even substitute rose water for that purpose. For some added rejuvenation, don’t forget to add Epsom salt to the water as well.
- Don’t over soak your feet; therefore maximum ten minutes would be good enough.
STEP TWO
After soaking your feet for ten minutes, next you need to do is scrub off all the dead skin.
- Grab any oil available at home; coconut, almond or jojoba oil and mix sugar to it.
- Though salt can also be a good exfoliator, sugar is however more mild and hence more preferred.
- Scrub the areas with the majority of dead skin, which includes your heels, and then work all the way up to your toes in circular motions.
- After scrubbing, wash your feet dry and take the pumice.
- Since the dead skin on the heels is generally more stubborn, apply a few drops of your shower gel or any cream on the pumice and mildly rub it against your heels.
You don’t want to scratch your heels so be very gentle while handling the pumice. Move on to step three.
STEP THREE
Now is the time to cut those over grown nails.
- Be careful while cutting the nails as you would want all the nails to be in the same shape.
- Then, with the help of an orangewood stick, gently push the cuticles away. Don’t tear away the cuticles!
- Next, use a nail buffer and buff away the nails.
This would bring a nice shine to your nails.
STEP FOUR
- Moisturize your feet now. For this purpose, you can use glycerin or any other moisturizer which you like.
- Start moisturizing from the heels, then work all the way up the sole of the foot and massage the back of your toes.
- Then come towards the front of your foot and massage in circular motions.
- Massage in between your toes and on the sides of the foot as well.
STEP FIVE
Now, apply your favorite nail polish!
- Grab a nail polish for the base coat. Start applying it from the middle of the cuticle, and then drag it all the way to the top of your nail.
- Then do the sides in the same fashion.
- Repeat this with the base coat. Now apply the top coat for an added shine.

